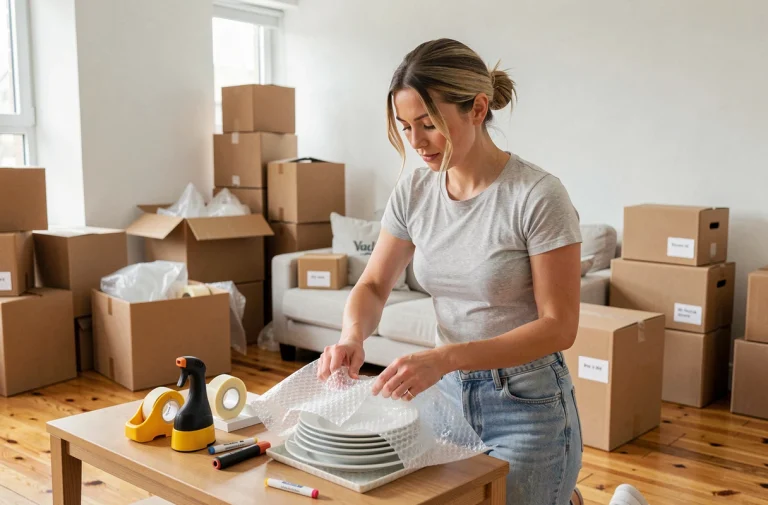
DIY encompasses a set of technical gestures (drilling, sanding, cutting, gluing, painting) applied to the maintenance or improvement of a home. Since 2024, the French market for large DIY stores has been declining according to the Inodata barometer from the FMB and Inoha. Households are postponing major renovations and refocusing on routine maintenance, small repairs, and optimizing what already exists.
It is precisely these everyday projects that require the best DIY tips.
Safety in DIY: the blind spot of tutorials
Most tip guides chain techniques without ever addressing personal protection. Recent insurance data shows that domestic accidents related to DIY are on the rise, particularly when using saws, drills, and grinders.
Before handling a tool, three reflexes drastically reduce the risk of injury:
- Wear protective glasses for every cut or drill, even for a single hole in drywall. Dust or chip projections can hit the eyes in a matter of milliseconds.
- Use gloves suitable for the material being worked on: cut-resistant gloves for wood and metal, nitrile gloves for painting and solvents. A glove that is too thick on a drill press can become a danger itself.
- Always secure the piece with a clamp or vise before working on it. A board held by hand slips at the first contact with the blade.
These precautions take only a few seconds and prevent the majority of emergency room visits related to DIY.
To delve deeper into each type of project, from interior painting to tile laying, browsing all the content on ohbrico.fr allows you to find technical sheets categorized by theme.
Basic tools: choose based on the project, not the price
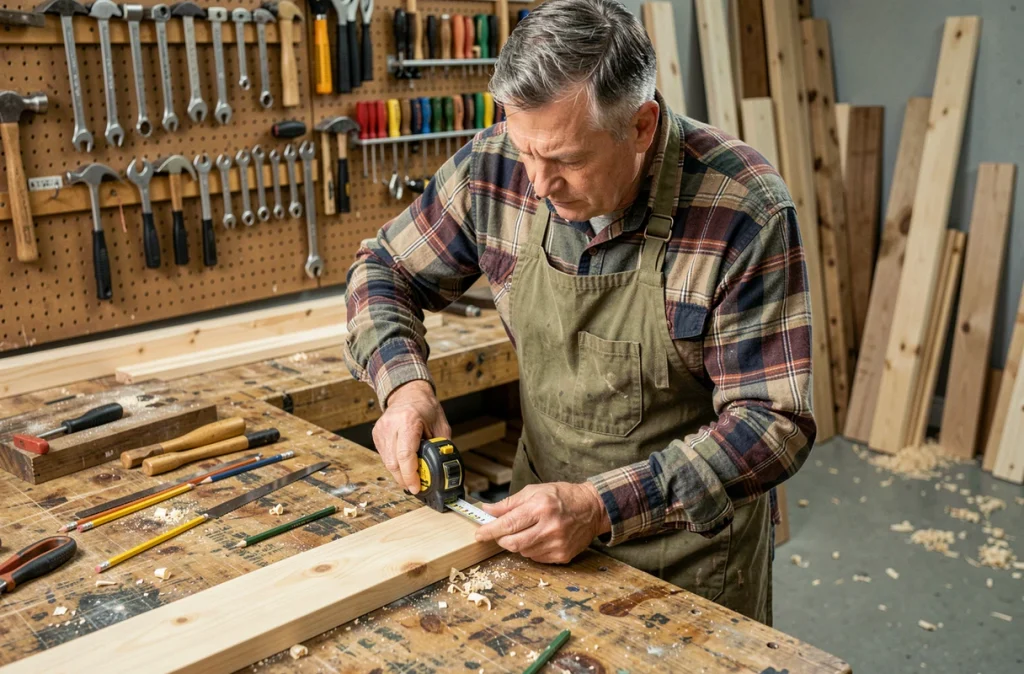
Accumulating cheap tools without a project logic is the classic trap for beginner DIYers. A limited kit of reliable tools covers the majority of common tasks: drill-driver, spirit level, tape measure, screwdriver set, adjustable pliers, and hand saw.
The drill-driver is the most versatile tool. Opt for a cordless model with at least two speeds and adjustable torque. Adjustable torque prevents drowning a screw in soft wood or cracking a plaster wall.
Tool maintenance after each use
A cleaned tool lasts several times longer than a dirty one. After each session, remove dust from the drill’s vents with a dry brush. Wipe the saw blades with a lightly oiled cloth to prevent oxidation.
Sharpening a blade costs less than replacing it. A diamond file costing a few euros is enough to restore the sharpness of a chisel or plane blade.
Surface preparation before painting and plastering
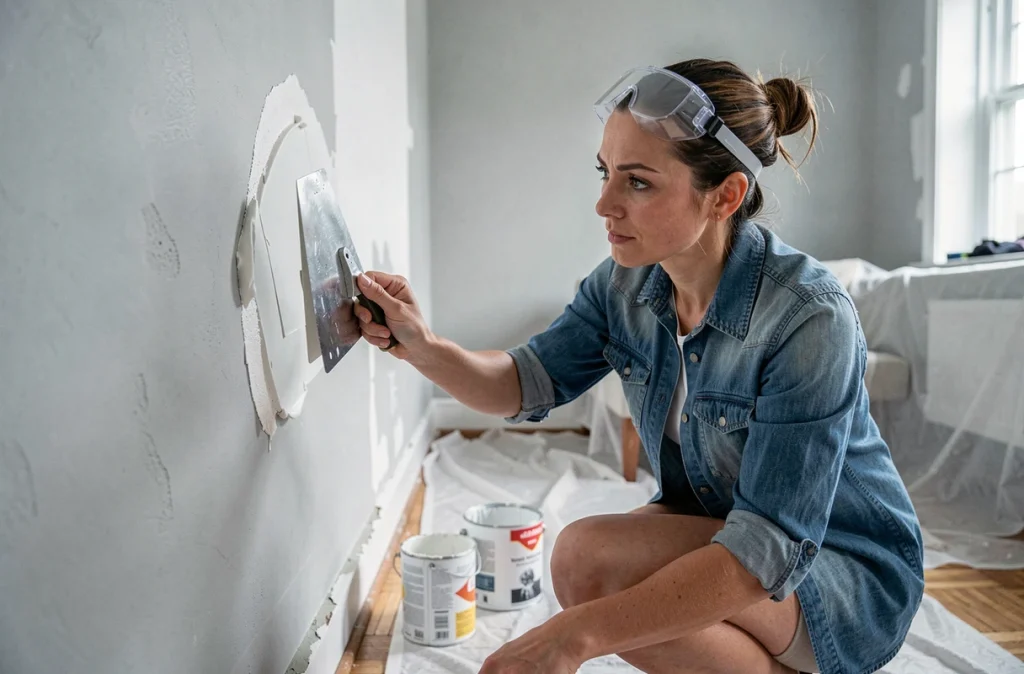
The quality of a finish depends more than half on the preparation work. Painting on a poorly sanded wall or greasy surface produces blisters and peeling within months.
On an interior plaster wall, the logical sequence is as follows: fill cracks with filler, let dry completely, sand with 120-grit, dust with a damp cloth, then apply a primer before the finishing paint. Skipping the primer step leads to uneven paint absorption and visible marks in low light.
Painting tips for a clean result
Masking tape should be removed while the paint is still slightly wet. Waiting for complete drying causes tearing and uneven edges. Pulling the tape at a 45-degree angle, slowly, gives a clean line.
For wall-ceiling corners, a good quality edging brush (dense synthetic bristles) is a better alternative to masking tape. Load the brush one-third full, place the tip a few millimeters from the corner, then pull with a steady motion.
Common small repairs: tiling, joints, and fixings
Replacing a cracked tile in a bathroom may seem daunting, but the technique is accessible with the right order of operations. Scrape the joint around the damaged tile with a grout scraper. Drill several holes in the center of the tile with a ceramic bit to weaken it, then remove the pieces with a flat chisel, working from the center towards the edges.
The new tile is laid on a double adhesive (glue on the wall and on the tile) to ensure maximum adhesion. Let it dry before redoing the joint.
Fixings in hollow walls
Hanging a shelf in drywall without the right anchor always ends up with a gaping hole in the wall. Molly type expansion anchors can support loads much higher than standard plastic anchors. Choose the diameter based on the thickness of the board (usually 13 mm in residential settings) and the expected load.
For light loads (frame, small mirror), self-drilling metal anchors can be installed without pre-drilling and hold well in plaster.
Low-budget interior decoration and layout
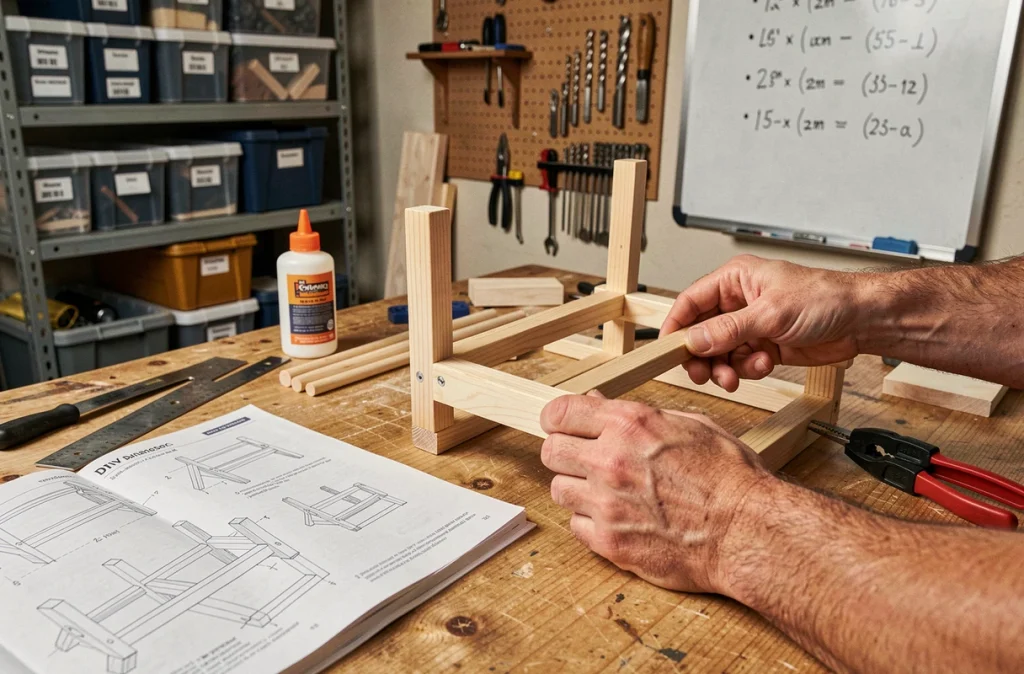
The most rewarding decoration projects do not require major work. Installing wooden battens on a wall creates a structured decorative effect for the price of a few pine slats and a tube of mounting glue. The result radically changes the atmosphere of a room.
Repainting a piece of raw or varnished wood furniture requires light sanding (180-grit), a multi-surface bonding primer, and then two coats of paint. The drying time between coats affects the durability of the paint film: strictly follow the manufacturer’s instructions, even if the surface seems dry to the touch.
DIY in 2025 focuses on maintenance, repair, and targeted improvements rather than major renovations. Mastering a few well-executed technical gestures, with appropriate tools and systematic safety precautions, is enough to sustainably maintain a home and give it character without an extravagant budget.